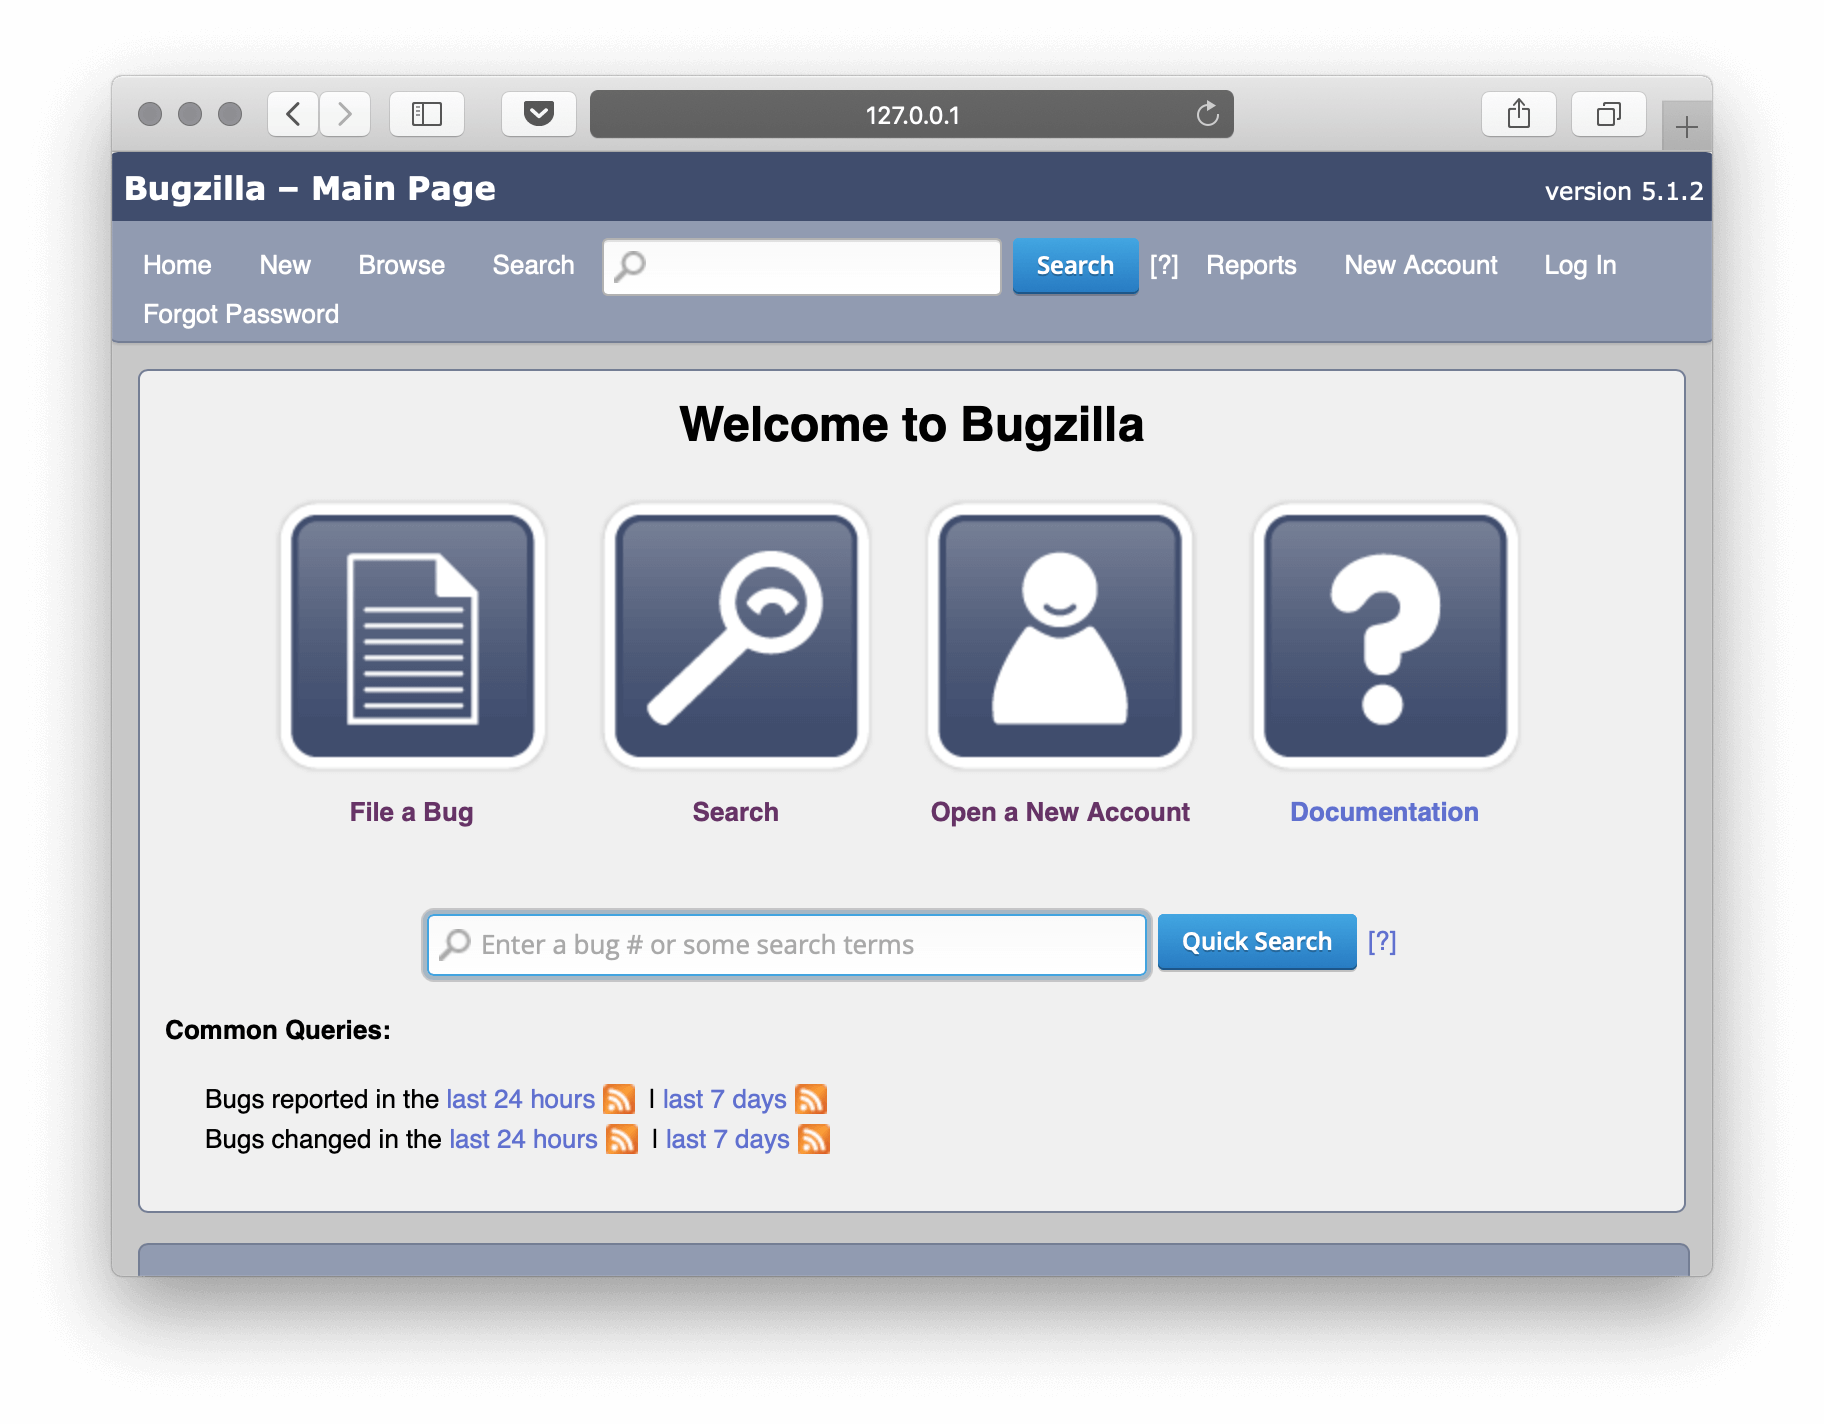
Bugzilla§
要使用 Unit 运行 Bugzilla 缺陷跟踪系统
使用 Perl 语言模块安装 Unit。
安装和配置 Bugzilla 的 先决条件。
安装 Bugzilla 的 核心文件。在此,我们将其安装在 /path/to/app/;在配置中使用真实路径。
注意
Unit 使用 PSGI 来运行 Perl 应用;Bugzilla 自 5.1 版本起原生支持 PSGI。
运行以下命令,以便 Unit 可以访问 应用目录
# chown -R unit:unit /path/to/app/
有关更多详细信息,包括权限,请参阅 安全检查清单。
接下来,准备 Bugzilla 配置以供 Unit 使用。默认的 .htaccess 方案大致转换为以下内容(对 share、script 和 working_directory 使用真实值)
{
    "listeners": {
        "*:80": {
            "pass": "routes"
        }
    },

    "routes": [
        {
            "match": {
                "source": "192.20.225.0/24",
                "uri": "/data/webdot/*.dot"
            },

            "action": {
                "share": "/path/to/app$uri"
            }
        },
        {
            "action": {
                "share": "/path/to/app$uri",
                "types": [
                    "text/css",
                    "image/*",
                    "application/javascript"
                ],

                "fallback": {
                    "pass": "applications/bugzilla"
                }
            }
        }
    ],

    "applications": {
        "bugzilla": {
            "type": "perl",
            "working_directory": "/path/to/app/",
            "script": "/path/to/app/app.psgi"
        }
    }
}
上传更新后的配置。假设上述 JSON 已添加到
config.json# curl -X PUT --data-binary @config.json --unix-socket \ /path/to/control.unit.sock https:///config/
成功更新后,浏览至 https:// 并 设置 Bugzilla 安装
