Spring Boot§
要使用 Unit 运行基于 Spring Boot 框架的应用
使用 Java 语言模块安装 Unit。
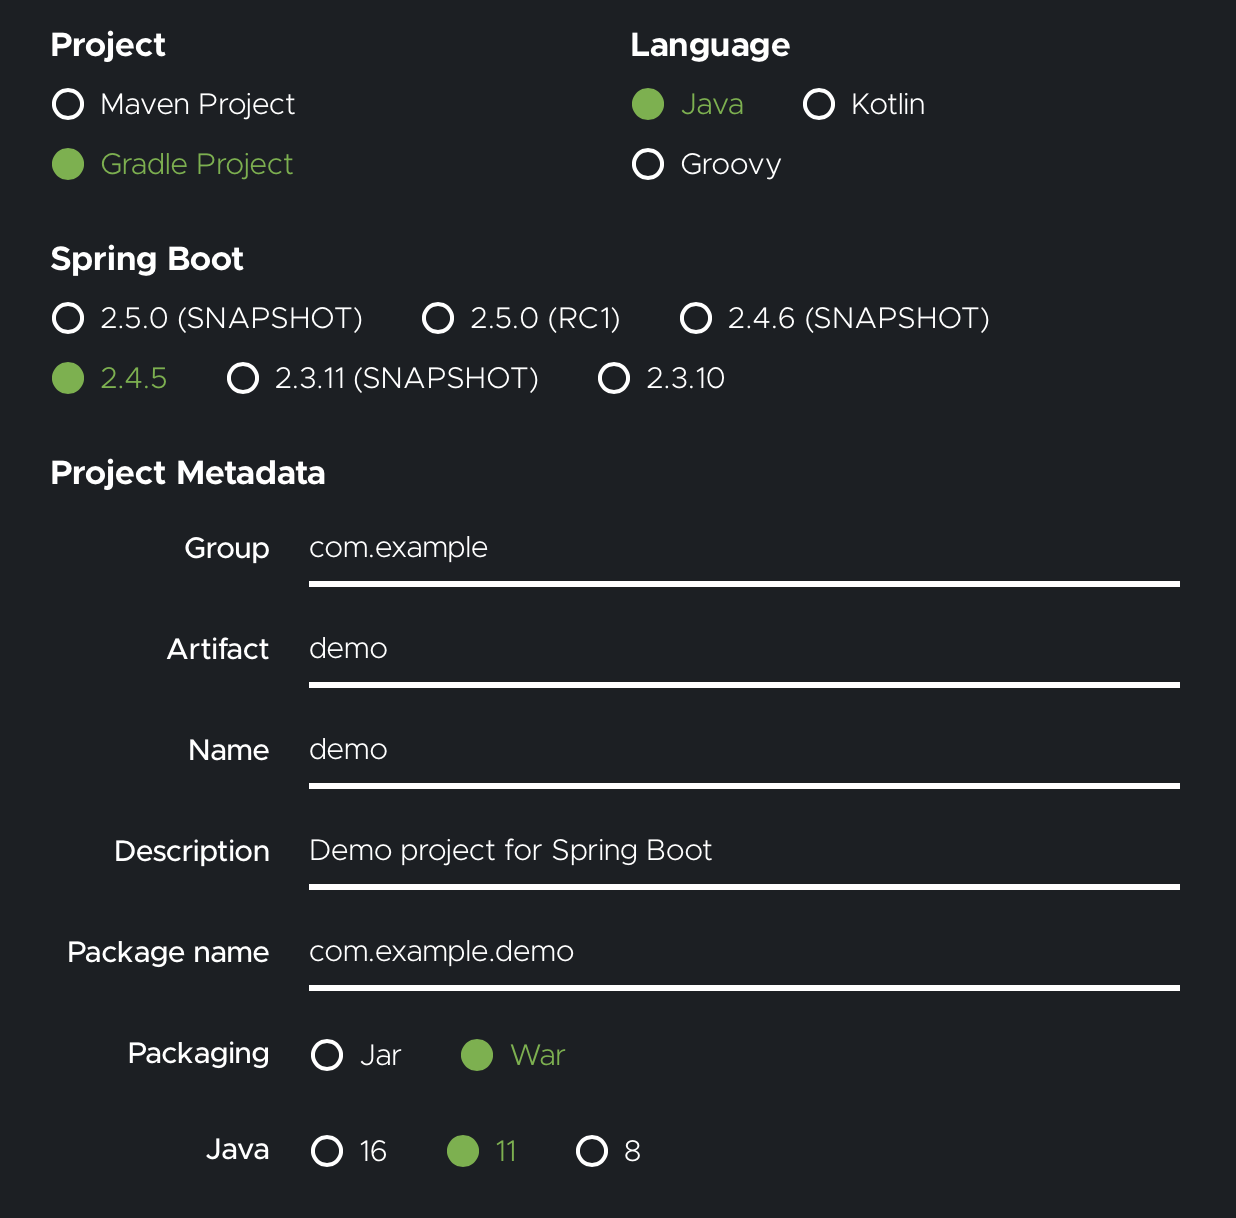
创建 Spring Boot 项目;我们将使用 快速入门 示例,在 https://start.spring.io 创建它
注意
选择与 Unit 语言模块相同的 Java 版本。
下载并提取项目文件到需要的位置
$ unzip demo.zip -d /path/to/app/
这将为您创建一个名为 /path/to/app/demo/ 的目录,以便您添加应用代码;在我们的 示例 中,它是一个名为 /path/to/app/demo/src/main/java/com/example/demo/DemoApplication.java 的文件
package com.example.demo;

import org.springframework.boot.SpringApplication;
import org.springframework.boot.autoconfigure.SpringBootApplication;
import org.springframework.web.bind.annotation.GetMapping;
import org.springframework.web.bind.annotation.RequestParam;
import org.springframework.web.bind.annotation.RestController;

@SpringBootApplication
@RestController
public class DemoApplication {

  public static void main(String[] args) {
    SpringApplication.run(DemoApplication.class, args);
  }

  @GetMapping("/hello")
  public String hello(@RequestParam(value = "name", defaultValue = "World") String name) {
    return String.format("Hello, %s!", name);
  }
}
最后,组装一个 .war 文件。
如果您选择 Gradle 作为构建工具
$ cd /path/to/app/demo/
$ ./gradlew bootWar
如果您选择 Maven
$ cd /path/to/app/demo/
$ ./mvnw package
注意
默认情况下,Gradle 将 .war 文件放在 build/libs/ 子目录中,而 Maven 使用 target/;记下您的路径,以便稍后在 Unit 配置中使用。
运行以下命令,以便 Unit 可以访问 应用程序目录
# chown -R unit:unit /path/to/app/
有关包括权限在内的更多详细信息,请参见安全检查清单。
接下来,组合Spring Boot 配置(对working_directory 使用实际值)
{
    "listeners": {
        "*:80": {
            "pass": "applications/bootdemo"
        }
    },

    "applications": {
        "bootdemo": {
            "type": "java",
            "webapp": "gradle-or-maven-build-dir/demo.war",
            "working_directory": "/path/to/app/demo/"
        }
    }
}
上传更新后的配置。假设上述 JSON 已添加到
config.json# curl -X PUT --data-binary @config.json --unix-socket \ /path/to/control.unit.sock https:///config/
成功更新后,您的应用应可在侦听器的 IP 地址和端口上使用
$ curl https:///hello?name=Unit

      Hello, Unit!