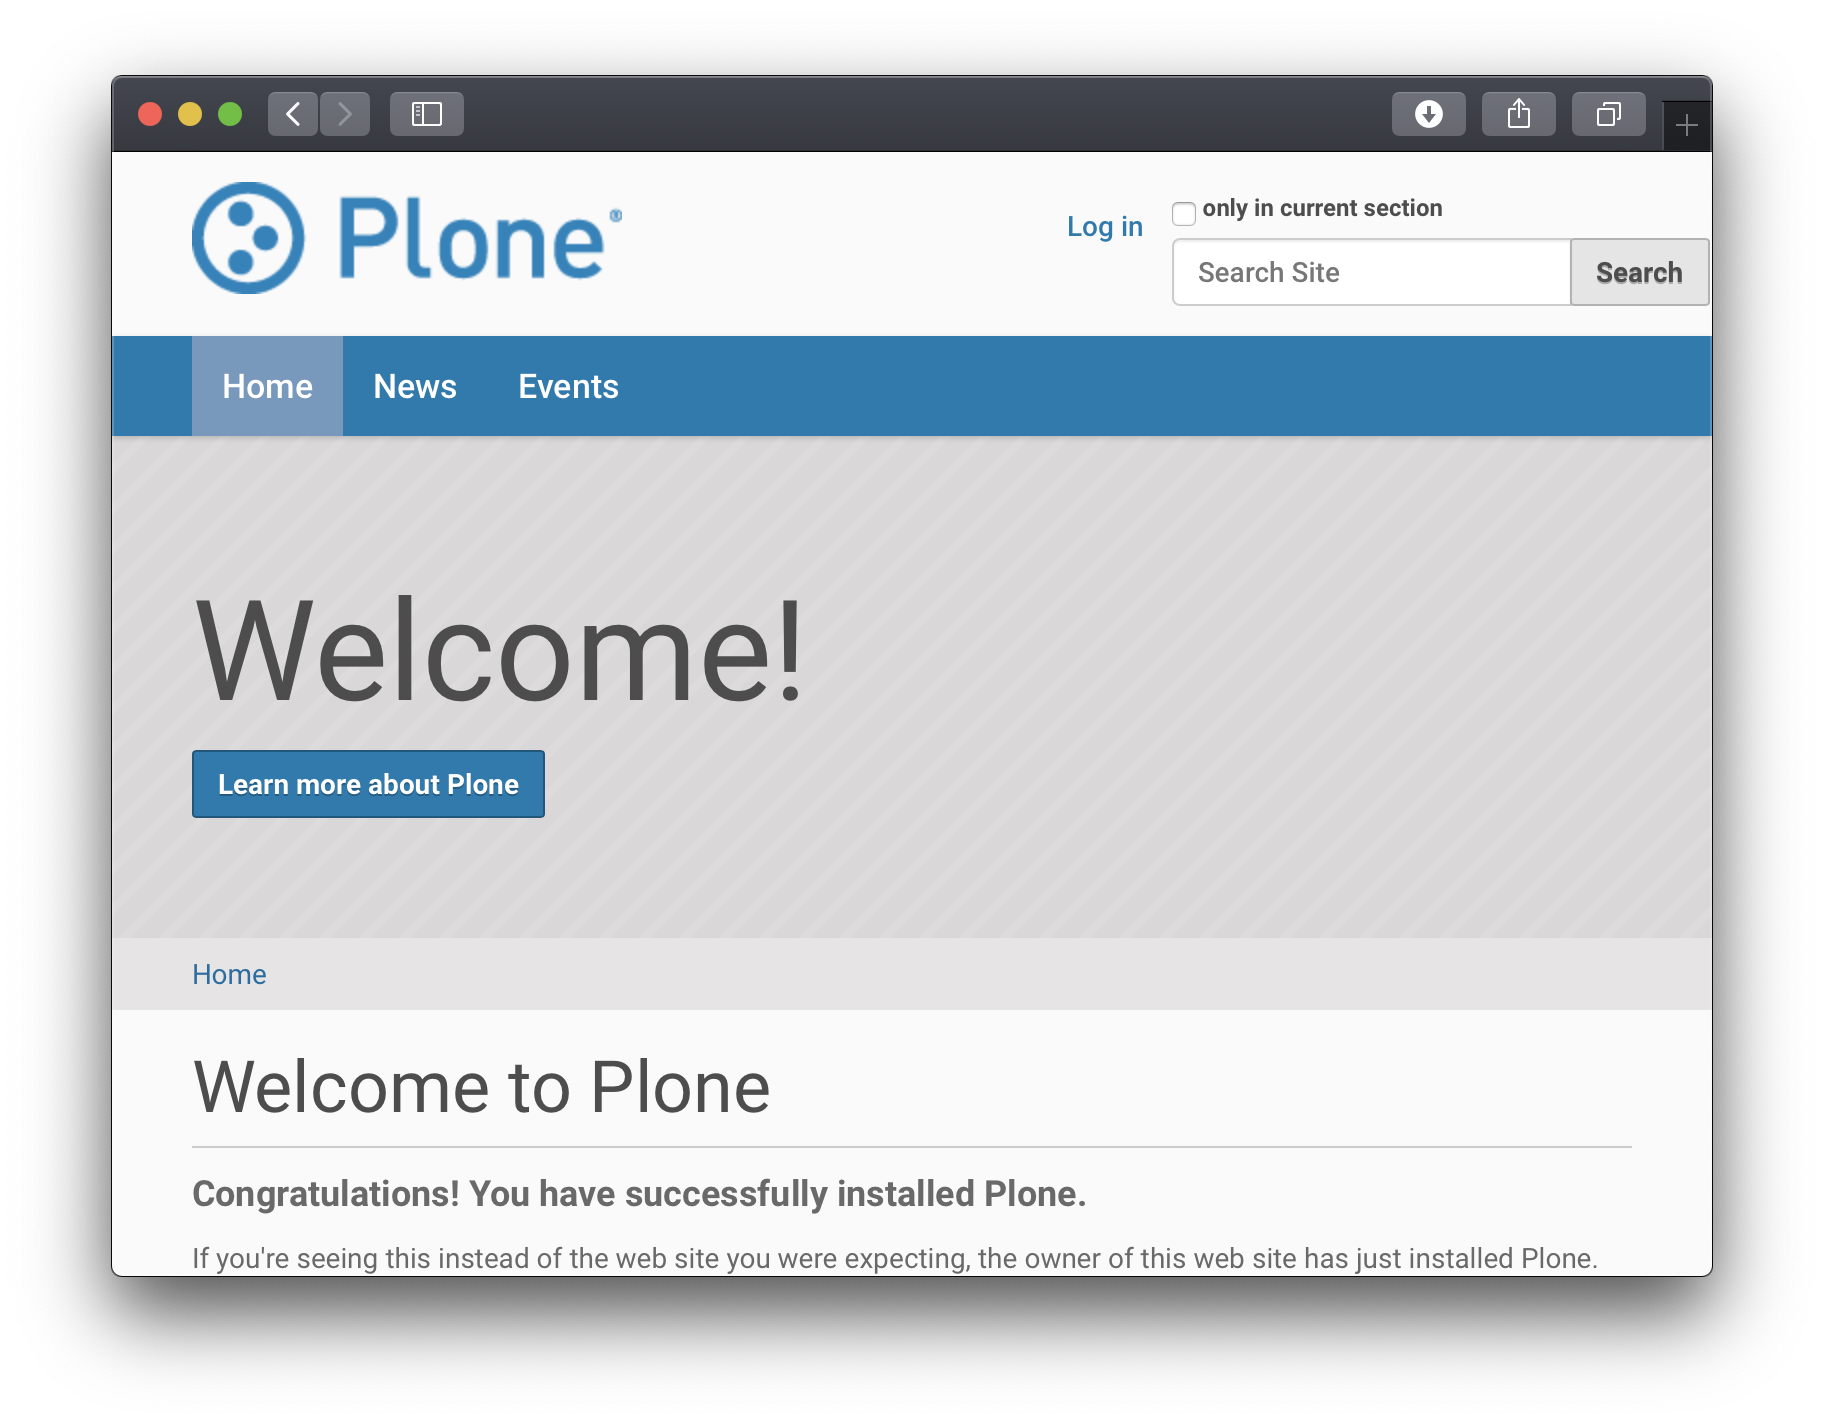
Plone§
使用 Unit 运行 Plone 内容管理系统
使用 Python 3.6+ 语言模块安装 Unit。
安装和配置 Plone 的 先决条件。
安装 Plone 的 核心文件。在此,我们将其安装在 /path/to/app/;在配置中使用实际路径
$ mkdir /tmp/plone && cd /tmp/plone/
$ wget https://launchpad.net/plone/A.B/A.B.C/+download/Plone-A.B.C-UnifiedInstaller-1.0.tgz
$ tar xzvf Plone-A.B.C-UnifiedInstaller-1.0.tgz  \
      --strip-components=1
$ ./install.sh --target=/path/to/app/  \
               --with-python=/full/path/to/python  \
               standalone
注意
Plone 的 Zope 实例和虚拟环境创建在 zinstance/ 子目录中;稍后,结果路径用于配置 Unit,因此请注意在设置中记录它。此外,请确保使用
--with-python指定的 Python 版本与步骤 1 中的模块版本匹配。要在 Unit 上运行 Plone,请添加一个名为 /path/to/app/zinstance/wsgi.cfg 的新配置文件
[buildout]
extends =
    buildout.cfg

parts +=
    wsgi.py

[wsgi.py]
recipe = plone.recipe.zope2instance
user = admin:admin
eggs =
    ${instance:eggs}
scripts =
initialization =
    from Zope2.Startup.run import make_wsgi_app
    wsgiapp = make_wsgi_app({}, '${buildout:parts-directory}/instance/etc/zope.conf')
    def application(*args, **kwargs):return wsgiapp(*args, **kwargs)
它创建一个新的 Zope 实例。部件的名称必须以 .py 结尾,以便将生成的实例脚本识别为 Python 模块;initialization 选项使用 buildout.cfg 中 instance 部件的 zope.conf 定义一个 WSGI 入口点。
重新运行 Buildout,为其提供新的配置文件
$ cd /path/to/app/zinstance/
$ bin/buildout -c wsgi.cfg

      ...
      Installing wsgi.py.
      Generated script '/path/to/app/zinstance/bin/wsgi.py'.
如此创建的实例脚本可与 Unit 配合使用。
运行以下命令,以便 Unit 可以访问 应用程序目录
# chown -R unit:unit /path/to/app/
有关更多详细信息,包括权限,请参阅 安全检查表。
接下来,准备 Unit 的 Plone 配置(为 path 和 home 使用实际值)
{
    "listeners": {
        "*:80": {
            "pass": "applications/plone"
        }
    },

    "applications": {
        "plone": {
            "type": "python 3.Y",
            "path": "/path/to/app/zinstance/",
            "home": "/path/to/app/zinstance/",
            "module": "bin.wsgi"
        }
    }
}
上传更新后的配置。假设上述 JSON 已添加到
config.json# curl -X PUT --data-binary @config.json --unix-socket \ /path/to/control.unit.sock https:///config/
更新成功后,您的 Plone 实例应可在侦听器的 IP 地址和端口上使用
